FOSS Lovers also uses WordPress for Content Management. WordPress gives us a great feel to write articles. Using WordPress we can make different kinds of sites that look elegant using the best themes.
How to install WordPress on localhost via XAMPP
Installing WordPress on localhost is quite easy. You just have to follow some easy steps. You can not install WordPress on your computer directly. You have to create an environment then install WordPress on that. Initially, it is about just 3 major tasks. Such as:
- Create an environment
- Download WordPress from its website
- Install WordPress
These 3 major tasks can be completed through some easy steps. Follow the following steps without skipping any of them to install WordPress on your localhost successfully.
Step 1. Download & Install a local server software
We need a local server software to create a localhost environment. In this tutorial, We are using XAMPP for that (for its ease of uses). XAMPP is a cross-platform web server solution stack package. Since WordPress is written in PHP language it requires a platform to run. XAMPP is the way to do this. You can use the development environment of your choice according to your OS (whether it is Windows, macOS or Linux).
Here is the detailed article on How to install XAMPP on these OS:
How to Install XAMPP on Windows 10 (Read this detailed Article)
How to Install XAMPP Stack on Ubuntu 18.04 LTS (Read this detailed Article)
Step 2: Start the modules and test your server
To install XAMPP and WordPress properly, you’ll need to run two modules:
- Apache
- MySQL
You can start both modules from the XAMPP control panel:
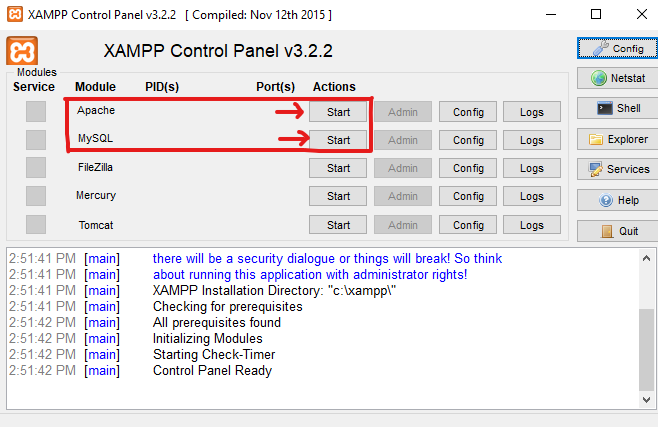
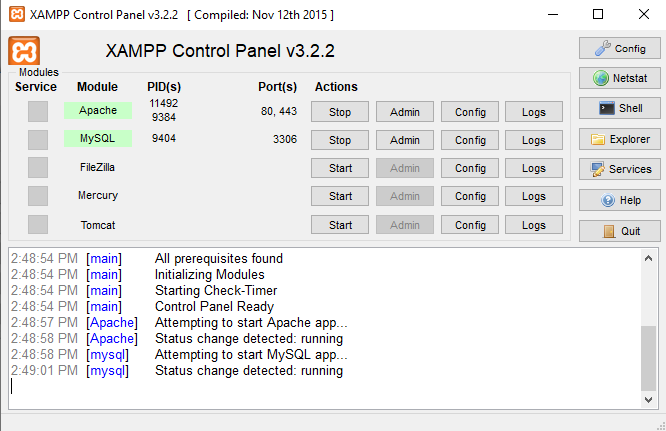
Once you launch them, you should see their status turn to green:
And now you should be able to test that your local server is working by going to
http://localhost/ in your web browser in my end. I have my default web browser as chrome: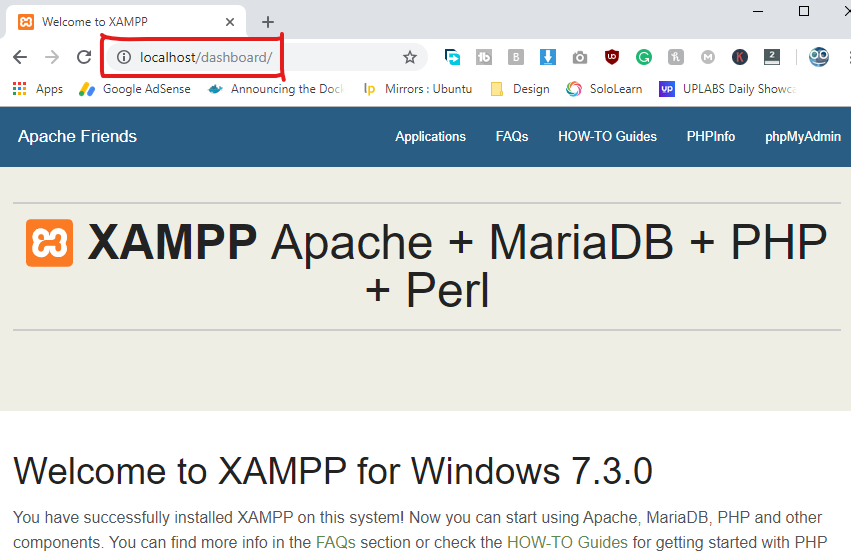
If all went well, you now have a functioning XAMPP server on your PC! But now it’s time to install XAMPP and WordPress. So here’s how to get a WordPress site up and running on XAMPP.
Step 3: Add the WordPress files
If you’ve ever manually installed WordPress, the rest of the process should feel pretty familiar. First, you need to go to wordpress.org and download the latest version of WordPress.
Then, in Windows, navigate to the folder where you installed XAMPP. For me, that's.
C://xampp It should be something similar for you. Then, in that folder, find the htdocs subfolder: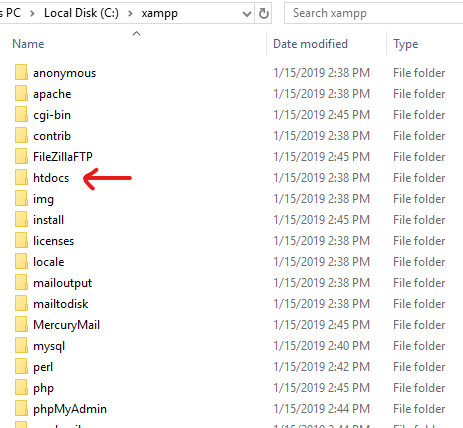
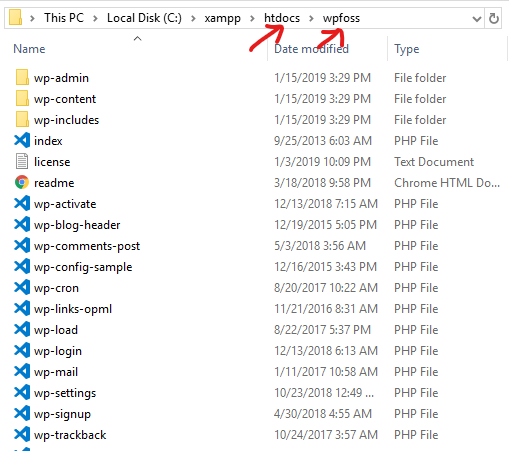
In htdocs, create a new folder for your test site. This folder name will become the sub-name used to access your site. For example, if you make the folder
"wpfoss" You’ll access your site by going tohttp://localhost/wpfossOnce you create the folder, extract the WordPress.zip file you downloaded from wordpress.org into it:
Step 4: Create a database for WordPress
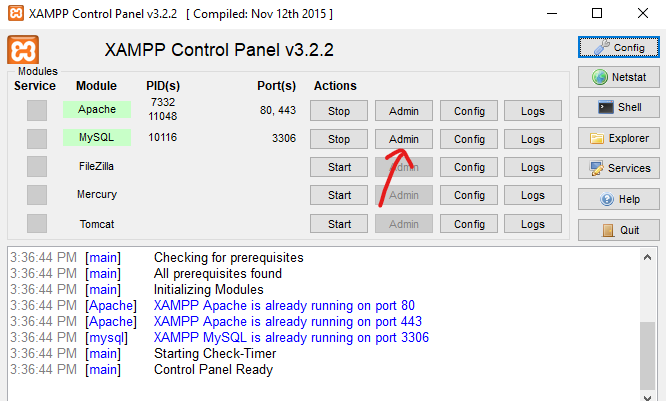
Next, you need to create a MySQL database for your WordPress install. To do that, launch PHPMyAdmin from your XAMPP control panel:
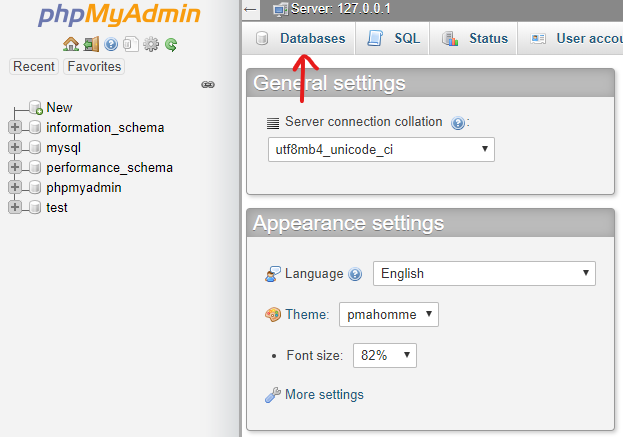
Then click on Databases at the top:
And enter a name for your database and click Create. Your name can be anything just remember it because you’ll need it for the next step:
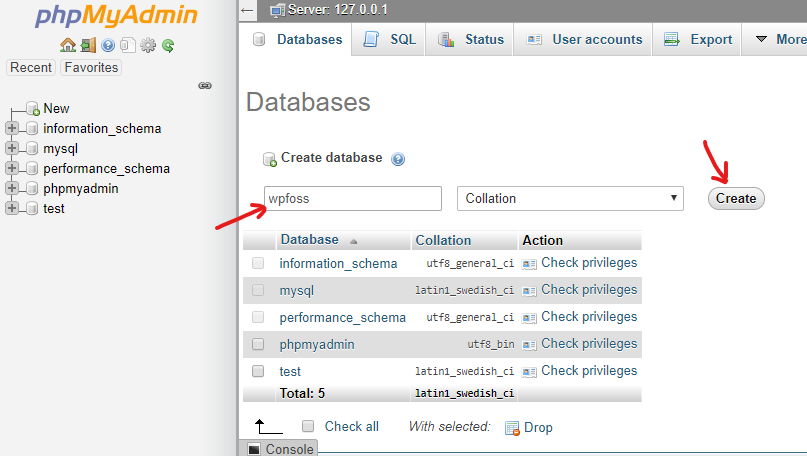
Unlike installing WordPress on a live web server, when you install XAMPP and WordPress, you don’t need to worry about creating a database user.
Step 5: Run the WordPress installer
When you visit your test site, you should see the normal WordPress installer. Remember, your test site is just
http://localhost/FOLDERNAME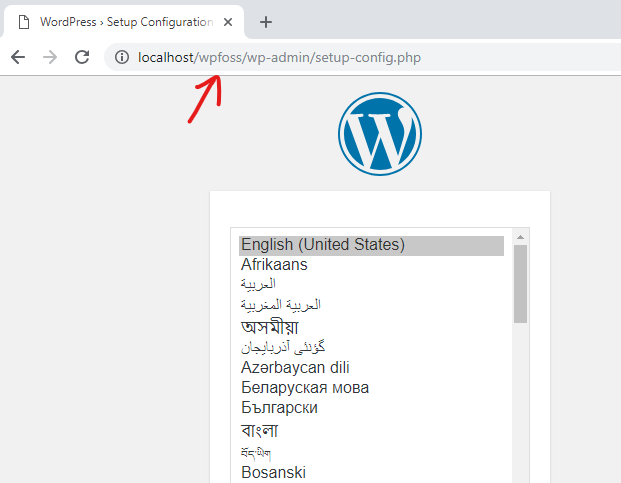
The only step where this process will differ from a normal install is the database details. When you get to the database details, enter them like this:
- Database Name = Name of the database you created in PHPMyAdmin
- Username = “root”
- Password = leave blank
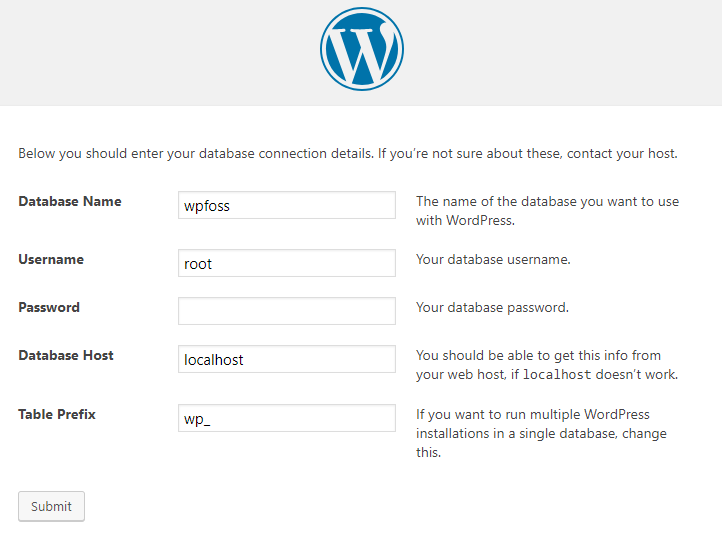
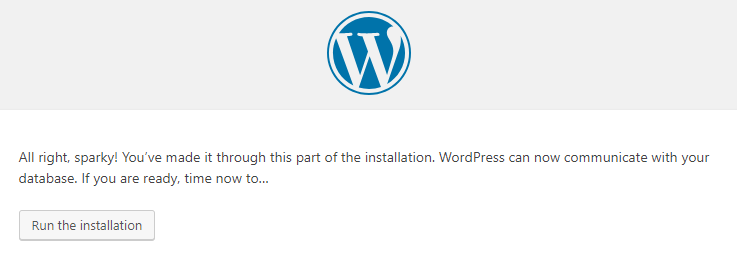
Then click on run the installation.
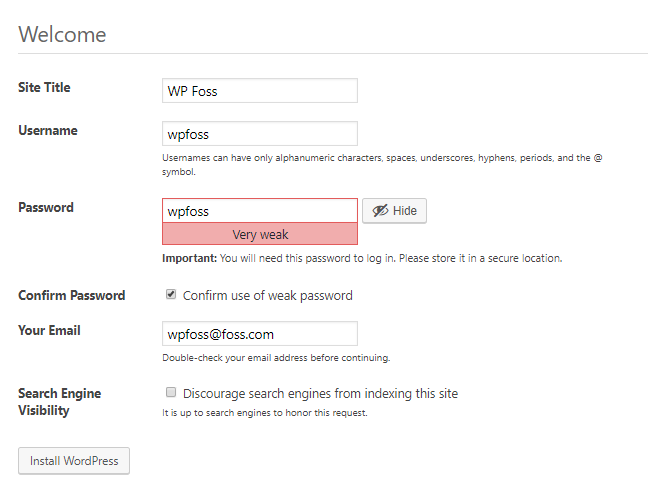
Then in this step. Enter the information like this:
- Site Title = Name of the site you want to develop
- Username = as your wish
- Password = leave blank or add any password
- Your Email = add your email address
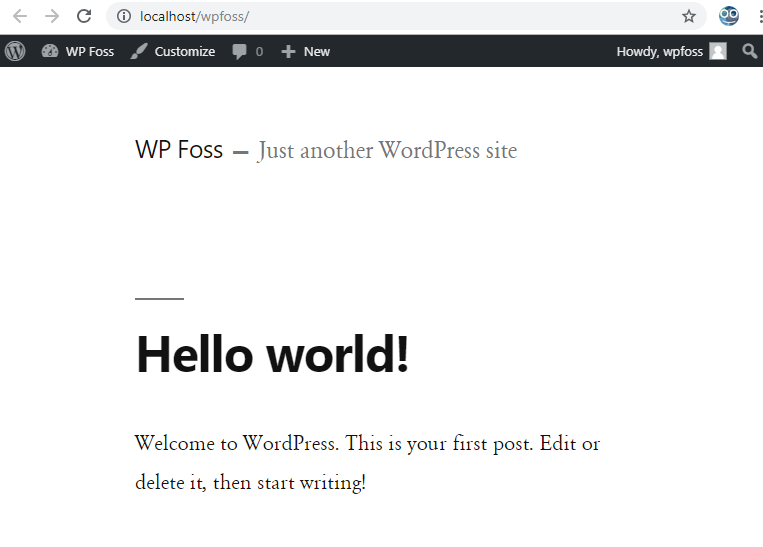
Once you complete the process, you should see your brand new WordPress install running perfectly on your localhost:
Login Page
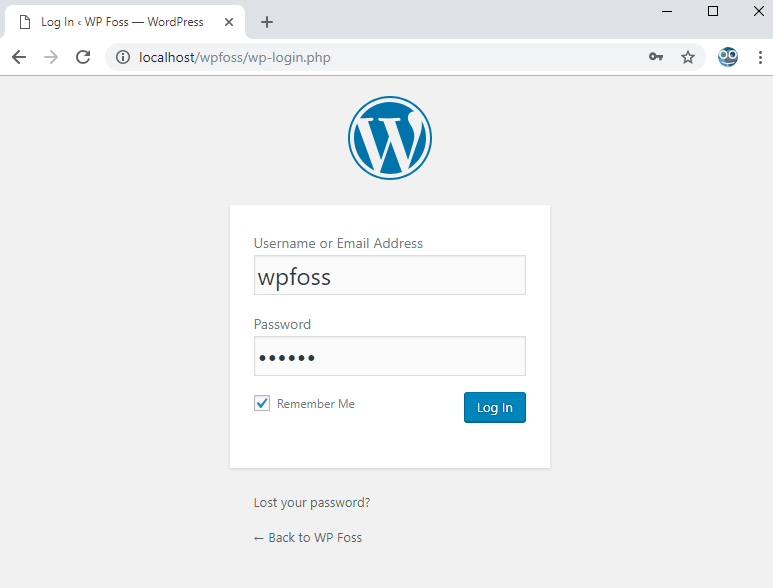
You can log in to your WordPress site using the details you have previously registered.
Conclusion
This is how we install WordPress on localhost via XAMPP. Remember one thing that this site that you have made now will not be shown in the search engines like Google, Bing, Yahoo, etc. If you have any questions, suggestions, feedback please write them in the comment box below so that we can improve or update our contents. Thank you! Enjoy ?
Suggested For You: “How to install a WordPress Plugin”


No comments:
Post a Comment